
Sludgineers gets much easier once you stop treating every run as “vacuum everything from left to right.” The game is an incremental loop: do a job, take the money and materials, buy the upgrade that fixes your current bottleneck, then come back stronger. The official store describes that exact loop — clean, mine and refine pollution, earn cash and resources, build a refinery, unlock new areas and complete quests.
The first thing to understand: a failed run is still progress
Running out of energy does not mean you played badly. Early jobs are built around returning to the van, spending what you earned and replaying with more reach or power. In current full-release footage, the first map takes several attempts before it can be cleaned comfortably.
The useful question is not “Did I 100% the map?” It is “Did this run buy me the upgrade that makes the next one meaningfully better?”
Prioritize bonus objects before random floor sludge
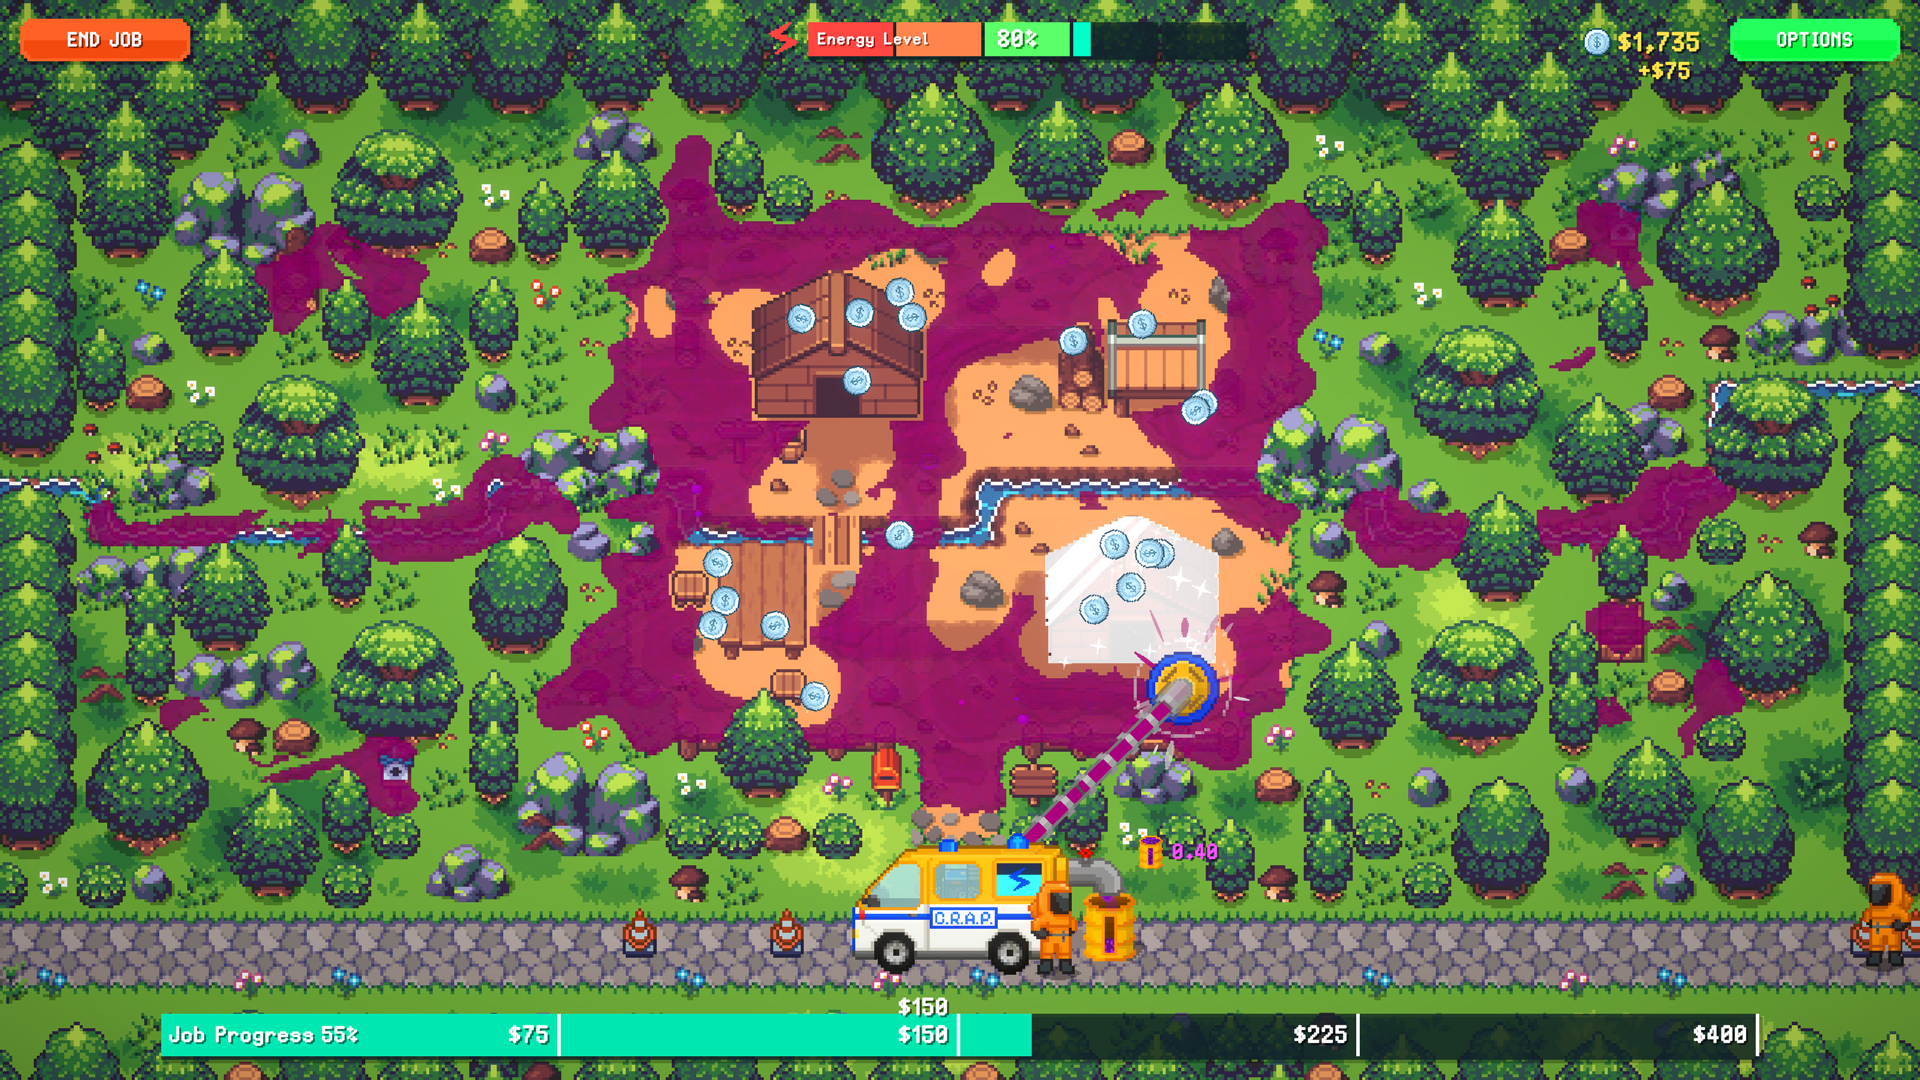
Video-tested play consistently gets better early returns from finishing recognizable objects and small sub-areas than from sweeping empty ground for a few extra pixels. Bonus objects can pay cash and, after the relevant upgrade, can also roll battery drops.
A simple early run looks like this:
- Hit obvious bonus objects first: cabins, cars, bridges, piers and other clearly bounded objects.
- Finish small areas if they are close to completion.
- Leave a safe battery on the map if you can avoid vacuuming it by accident.
- Use the low-energy power window, then take the battery to extend the run.
- Spend the payout immediately on the bottleneck you just felt.
That is a much better loop than slowly painting the entire map purple-to-clean with no plan.
Your safest first upgrades
Across several full-release playthroughs, the same group keeps doing useful work:
- Max Energy gives you more time on every tool.
- Vacuum Radius makes object clearing and later cleanup less fiddly.
- Vacuum Power matters once sludge gets thicker and radius alone is no longer enough.
- Battery drop / recharge upgrades turn bonus-object hunting into extra run length.
There is no single mathematically proven “perfect” first four clicks. If you are running out of energy with plenty left to clean, buy energy. If the vacuum is crawling through thick sludge, buy power. If you are constantly leaving tiny edges, radius and the later detector/highlight utility become more valuable.
Do not waste the low-energy window
Current video play shows an important rhythm: some power upgrades become stronger when the van is low on energy. If a battery is sitting safely on the map, you can intentionally dip into that stronger low-energy state, do the expensive cleanup, then refill.
This is video-tested strategy, not an official hidden formula. You do not need to force it every run. A battery that is about to get auto-sucked is worth taking now rather than losing while trying to be clever.
When should you replay an older map?
If the new map pays slowly because your tools are underpowered, an old map you can clear in one fast pass can be the better cash farm. This behavior showed up in demo feedback and in full-release videos: players sometimes return to the previous area for a quick payout, buy power, then go back to progression.
The rule of thumb is plain: farm the map where your current build converts time into useful upgrades fastest. Once the next region starts paying better, move on.
What changes after the first few regions?
The game gradually stops being “just the vacuum.” You unlock the refinery, then the Jackhammer and Zorkite, then drones, then the Air Filter and gas management. At that point, energy is shared across more jobs and upgrade choice becomes much more about the tool currently holding you back.
That is why the early guide deliberately avoids telling you to rush a late-game branch. Build enough vacuum and energy to keep moving, then let the next mechanic tell you what it needs.
Patch note: the current live build is v1.00.04 (Patch #4, September 15). Patch #1 changed late-game Draxine costs, refinery processing and drone costs. Patch #2 raised refinery yield caps and safe diamond/coin odds, and added a Level 1 freeze workaround when Steam fails to initialize. Do not copy an old video’s exact late-game prices into a current build without checking the launch patches.